Refer PHP - Introduction before reading this..
Click PHP-Database Connection .
====================================
If we type a web site address, the corresponding information is sent to us by some Servers.


When we click MySQL , we can see a window , where we can type SQL Commands there..
Click phpMyAdmin ,then.

You can see , the created database on the left side (world,test...etc) .
Some options are also there like DATABASE, SQL,STATUS..etc.


Click PHP-Database Connection .
====================================
If we type a web site address, the corresponding information is sent to us by some Servers.
- To view PHP-sites in our localhost , use WAMP Server .
- If it is a PHP site, APPACHE Server send the corresponding Information.
- Wamp Server is a platform which contains PHP, APPACHE and MySql .
- Wamp is for WINDOWS and Lamp is for LINUX.
Install WAMP Server first from HERE.
After installing , double click on wamp server.
Then the pink color turns Green , in the TASK BAR, indicates that WAMP server is in running mode..as ;

Right click on the GREEN coloured Wamp server , then we can see a pop-up menu as;
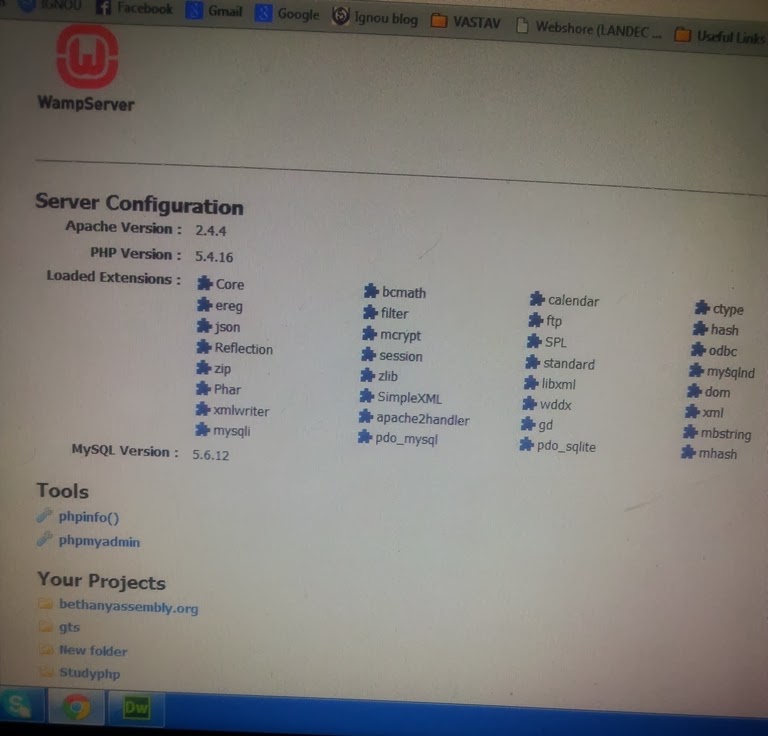
When we click LOCALHOST , we can see,
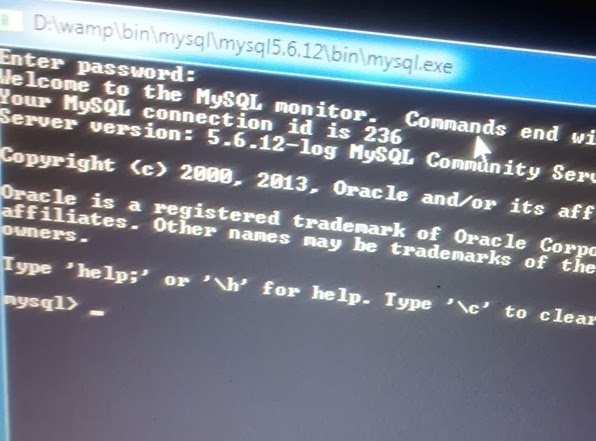
When we click MySQL , we can see a window , where we can type SQL Commands there..
Click phpMyAdmin ,then.
You can see , the created database on the left side (world,test...etc) .
Some options are also there like DATABASE, SQL,STATUS..etc.
How to create a Database in WAMP Server ??
- Click PhpMyAdmin (as given above)
- From the screen , click DATABASE.
3. Give a database name and click CREATE , as given above.
You can see that the database with name MYDATABASE has been created.You can see it in the list.
4. Click MYDATABASE from the list , then you can see ,
Give a table name (here , I gave login as table name , and number of columns as 2.Then click GO .
5. Then we can see another screen as ;
Give username , type=varchar, length=25 , and that of password also. Then click SAVE.
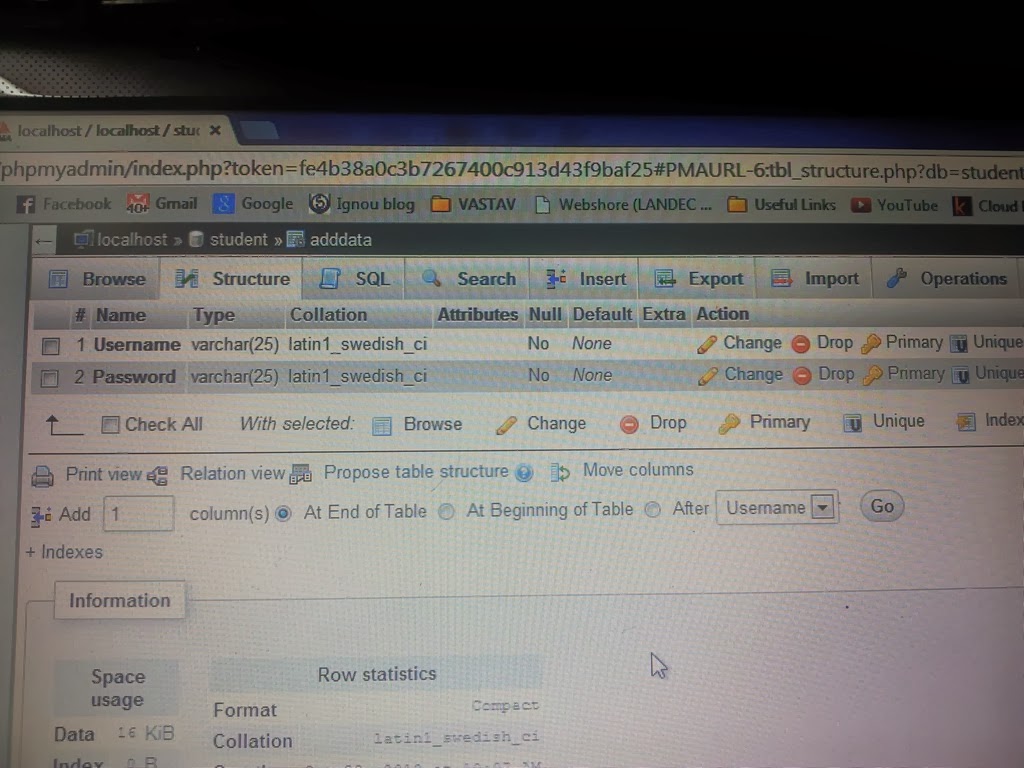
6. Then we can see another screen as ,
(The given screen is different , with the database name as student and table name as adddata . Instead we can see MYDATABASE and LOGIN ) .
7. Now click INSERT . Then we can see
We can type the contents of the table here.
But here, we are going to enter the details through database.
Click PHP-Database Connection .
No comments:
Post a Comment